
Improve your photos with (editing) skills and editing tools.
Cameras capture those memorable moments in our lives and secure them for a lifetime. It’s said that a picture is worth a thousand words. And, you definitely need a camera when someone holding a beer shouts, “Hey guys, watch this!”
With photo editing, any photograph can be improved, and even changed to suit a purpose. Marketing, fashion, advertising, police speed control, motion pictures, dating apps, most wanted criminal posters, & military intelligence, are just a few of the many drivers seeking to improve visual recordings to suit their needs and purpose.
Poorly exposed photographs can be made better in a post-edit followup using apps like Lightroom and Photoshop (two of many hundreds of current photo editors). Photos can be sized and cropped to near perfection. A frown can be softened, a pimple or blemish removed, an obscure face in an underexposed exposure can be revealed. Whatever the issue that’s noted and needs improvement can be somewhat enhanced, tweaked, or fixed. Vogue, Vanity Fair, Sports Illustrated, Nature's Best Photography, Aperture, and Better Homes and Gardens are proof of the near perfection of a photograph.
Where do you start?
Smart phones technology and software gives everyone the opportunity to become an entry level photographer. For under $500 any inspired person can produce (and edit in-camera) good quality photographs and also make videos using entry level cameras. Photography courses are available in schools, clubs, tutorials, the world wide web using search commands, and How To Books in libraries and book stores. With patient inspiration, and a willingness to persist anyone can achieve remarkable progress over a few short years. And, don’t be afraid to ask. Myself included, be assured that all questions have an answer.
Professional cameras and lenses are expensive but they are also capable of producing impressive images using better quality glass in the lens and a better overall build and design. Specialized internal software in high end camera adjustments can not only increase great exposures but also get those fast action captures delightfully framed and adjusted. Specialized prime and zoom lenses are capable of capturing close up or distant images in strong light and near darkness. Professional and advancing photographers need to be able to make their shots count in any situation required within their job description. All that said, an expensive high end camera can be a difficult and frustrating tool in the hands of a novice.
Photography is an art form. Food for the soul so to speak. Creating/capturing a few visual moment can be sheer delight. Editing a poorly exposed or badly framed great shot is definitely a satisfying endeavour. In short, photography is not only a great lifetime hobby, it’s an ongoing work in progress that could eventually lead to a professional career.
I’m kinda at the stage in my journey when going to the dentist, barber shop, or doctor I look for a Sports Illustrated, Vanity Fair, or any magazine and look for the photos by Walter Iooss Jr., Annie Leibovitz, or anyone else who somehow achieved published magazine status. After studying the more interesting pics I ask myself, “How the heck did they get that shot?” I can usually figure out the technical answer using my library of photog reference material or by asking a more capable photographer or even Dr. Google. This path helps when translating moments holding the camera and seeing possibilities change and fly by through the lens. It sometimes helps to try to anticipate by keeping both eyes open, one on the larger field of vision beyond the lens and the other on both the subject and the numbers inside the camera to help ensure shutter speed, ISOs, etc. are correct for the moment being anticipated. The external dials and buttons eventually become memorized. And there’s always the histogram to view.
I usually keep about 30% of the shots I take in any given session and on average use about 1 out of 3 or 4 of those kept. I seldom shoot fully manual anymore like back in the film/analogue days since the new fast lenses and upscale DSLR camera software is just too good today. Shutter priority for faster action shots and exposure priority for scenic composition are the general go to settings on any given day anymore. But sometimes, when absolutely needed, it’s both set in a time sensitive manual.
Back in the day we took film to the camera store to be processed or we developed the negatives in dark rooms using developer, stop bath, and fixer. We first cut the negatives with Xacto/razor blades to crop the pic and straighten the horizon if necessary. Most of the tools and techniques we used in darkroom technology have been taken over and vastly improved with programs like Photoshop and Lightroom. I remember young students being amazed and delighted with the results when we made B&W contact prints with a small glass plate on top right in the classroom using negatives they brought from home and the lights (off/on/off) in the classroom. Today you can simply edit your shots within most of the new cameras/smartphones quickly and get greatly improved results.
The downside still is storage and organization of files. Our basement is filled with thousands of old prints and slides in albums and slide trays. It’s hard to throw out a lifetime of memories captured at Christmas, the kids growing up, birthday parties, trips, etc. & whatever. Sure the old prints and slides can be converted to digital files but as mentioned all those and that need to be stored somewhere too.
Facebook, YouTube, Snapchat, Instagram, and the many other social media platforms are a good place to show, and motivate your photog improvements. A place to both test your courage and get reaction to your work and effort.
A website can also become a resume if you’re an aspiring photographer.
Final thoughts, . . .It’s mostly all about light. From what direction is it coming? Will it illuminate the face? Are the settings capable of capturing the shot? Where do I need to stand to get the best composition, the best available light, and maximize the camera’s capabilities?
Higher ISOs will help me increase shutter speed but too many ISOs will reduce the quality of the photo. Frame the subject, anticipate the subject’s movement to best capture what the subject is also trying to maximize.
Post editing the composition with the rule of thirds or the Fibonacci sequence & the golden ratio, whatever, will take care of the final composition. Always underexpose the shot taken in RAW so the critical photo information will all be there, nothing blown out with too much light.
It’s all about getting a few good captures in any given day so keep keep squeezing the shutter, with spot focus on the subject, as the action heats up.
All you need is THAT ONE MOMENT stored inside your camera and you’ve got the money shot!
aside: &BTW, did you know that by tilting your camera up and down parallel to the ground you can eliminate distorting the vertical lines in a shot? The shot in the journal introducing this entry (and way down below) with Nancie in the lens shows background lines perfectly aligned within the framing. The DSLR camera was tilted parallel to the floor (while watching the window shutters) as I moved in to get the shot.

tubed…

Maxxed out

There’s ice forming on the shoreline…
It’s Chris, . . .need I say any more?

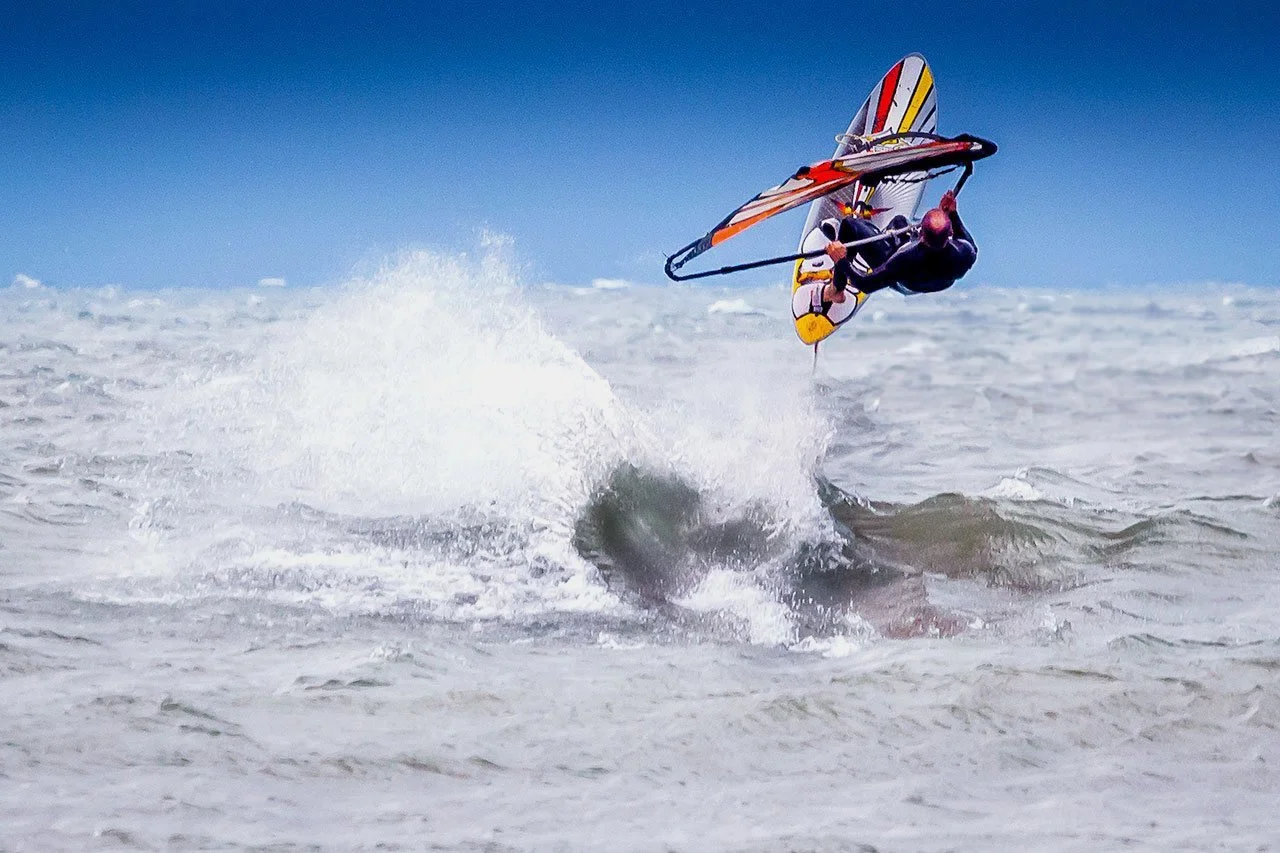
Light reflecting on the face from the sail helps with the facial exposure in an otherwise difficult back lit condition…

Just tilt the camera till it’s parallel to the floor and the outward/inward curvature of the lines in the shutters now appear to be at right angles (or parallel) with the floor, not curved in or out. . .

Where there’s a will there’s a way…